Sale-A-Bration is Almost Over!

You don't want to miss out on this great deal!  Sale-A-Bration ends at the end of March so make sure you get your orders in now for your FREE products!!   You have until March 31st!

It's Sale-A-Bration time again at Stampin' Up!, and friends, fresh ideas, and free product is what it's all about!

Here's how Sale-A-Bration works:

Spend
When you spend $50 on Stampin' Up! merchandise, you'll receive a free Sale-A-Bration reward. There's no limit--for every $50 you spend, you can select another FREE Sale-A-Bration reward!

Host
When you host a workshop of at least $300 (before tax and shipping), you'll receive a FREE Sale-A-Bration reward in addition to all of the regular hostess benefits!

Join
During Sale-A-Bration, anyone who joins as a demonstrator gets 15 percent off the price of the standard or Digital+ Starter Kits--that's over $310 worth of high-quality Stampin' Up! products for just $148.75! In addition, new demonstrators get a FREE Bonus Bundle worth up to $50!

CLICK HERE or email me for details!

Here are the starter kit deals that you can get for joining!

Starter Kits* Retail        Value                       Regular Price    Sale-A-Bration Price
                                                                                                    (15% off)
Standard Starter Kit      More than $310       $175                 $148.75
Digital+ Starter Kit        More than $320       $175                 $148.75

*The Stampin' Memories Add-On and Definitely Decorative Add-On can be added to these kits, but will not be discounted.

Starter Kit Bonus Bundle - FREE!
Item        Page    Description                                                                        Retail Value
121620   165     Color Coach                                                                      $14.95
120806   183     Simply Sent Something Special (or any Simply Sent kit)      $11.95
117114   183     Live, Laugh, Love Set (or any Simply Sent stamp set)         $9.95
119883   202     Full Heart Punch (or any punch valued at $16.95 or less)    $16.95

Crafting with Heart

I am starting a new group at church called 'Crafting with Heart'.  The purpose is to gather crafters for fellowship and fun and use our creative talents to give to the community.  We will meet monthly or semi-monthly to create service projects or just craft on our own projects and enjoy each other's company.  I have set up a Meetup Group to help communicate and gain participation.

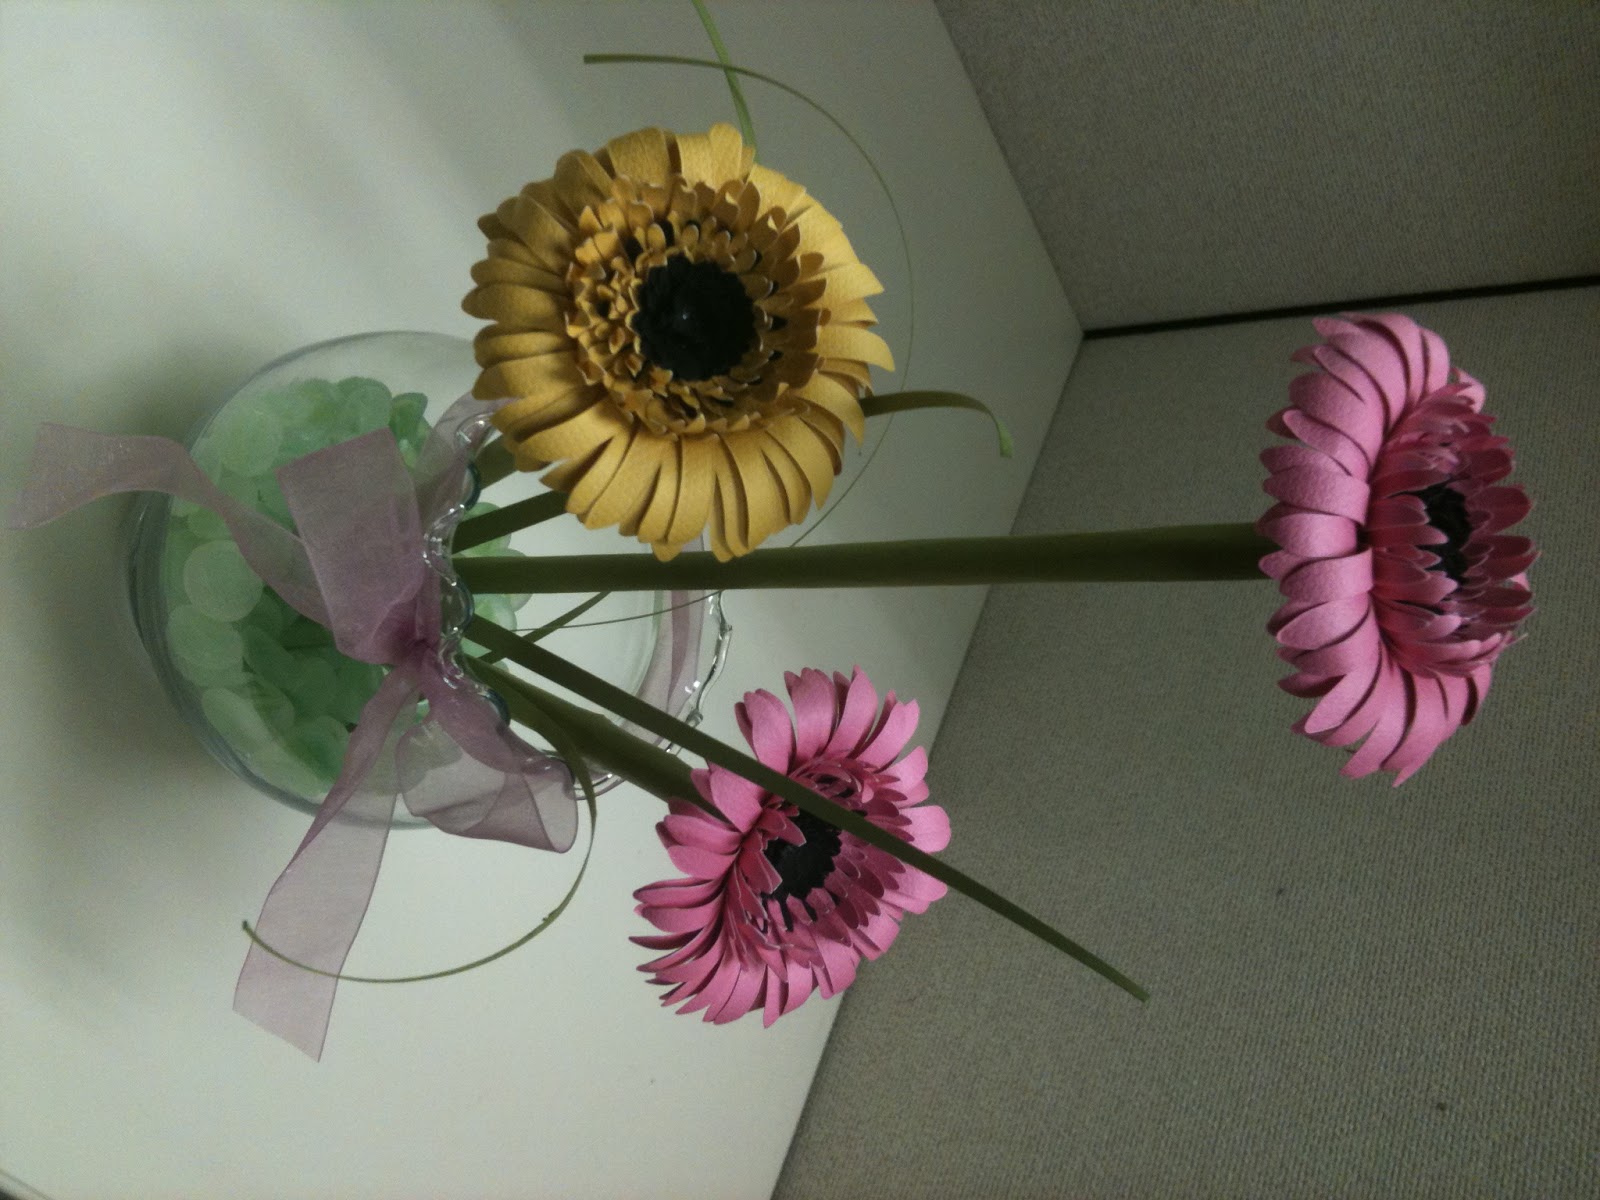
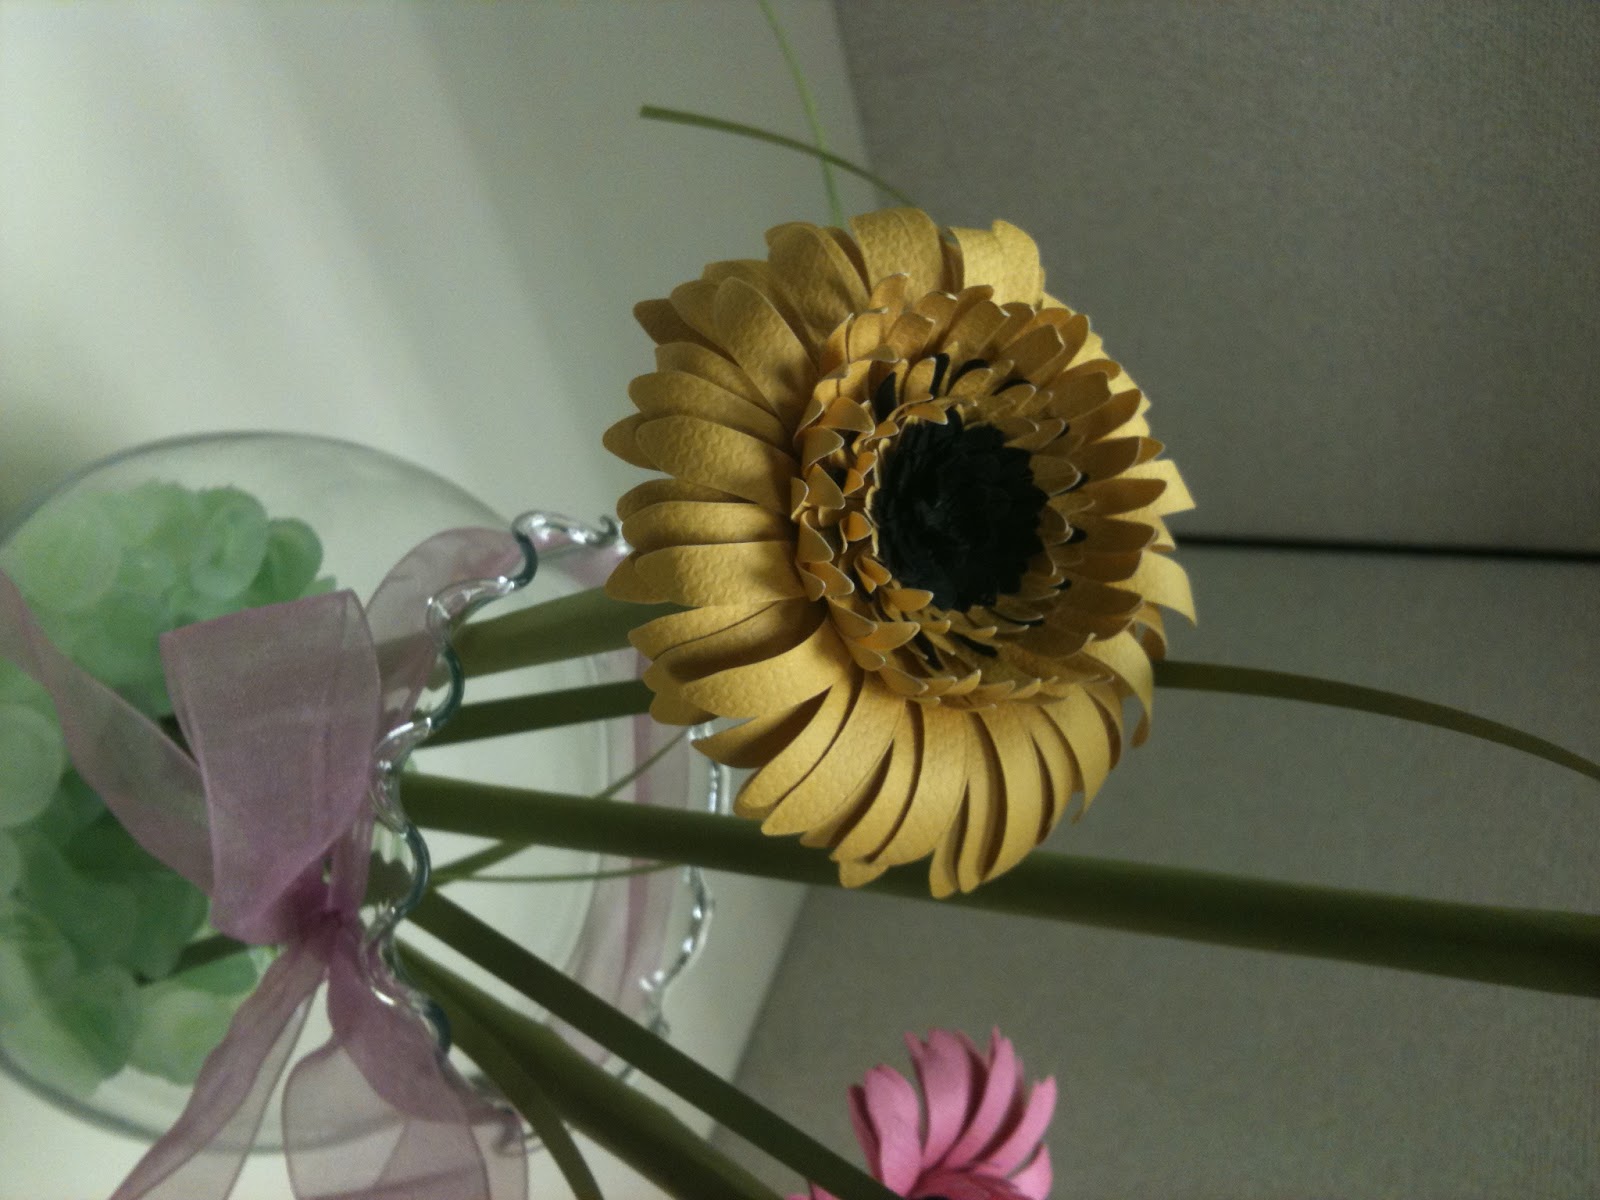
Our Women's Service Group at church has an event coming up called Faith & Flowers, a banquet with guest speakers.  I am making the flower table centerpieces for the tables. After the event, these flower arrangements will be delivered to individuals in the community who are confined to their homes due to illness or disability. We are making 30 of these for the event.
These flowers use the Daisies #2 Sizzix die and the Boho Blossoms punch.

I got the idea for these flowers from Shelley Bohan's blog at http://sweetpeastampedart.blogspot.com/.  She's so talented!  Hope you like my version. 

If you would like to learn how to make these flowers yourself, join me at the Gerber Daisy Arrangement Workshop on March 19th.

Thanks for looking!

If you would like the equipment to make these, you can place an order on my online store for the following items:
Boho Blossoms Punch  #119858
Big Shot Die-Cut Machine  #113439
Daisies Flower #2 Bigz Die   #114520

Faux 3D Technique

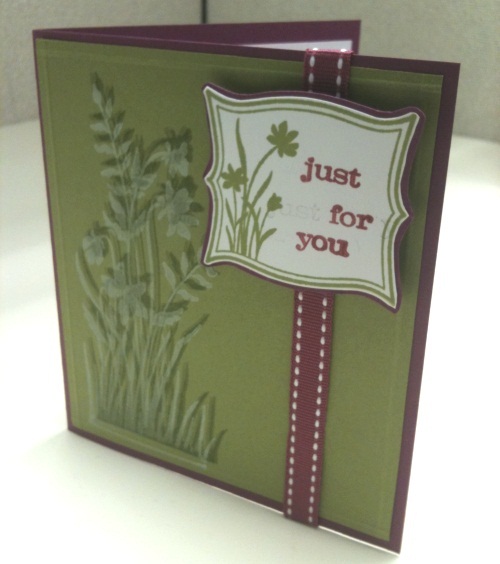
I decided to try a new technique out called Faux 3D stamping.  This was my first attempt and I could have done a better job, but it still came out cute.  I used the Just Believe Clear Mount stamp set.
I first stamped the large wildflower image in the same color ink as the cardstock, old olive.  Then, I stamped it again slightly lower and to the left using white craft ink.  Lastly, I stamped it a third time using Versamark again slightly lower and to the left.  This gives a shadow and highlight effect to the image and it appears to be raised.  Had I gotten the images stamped a little closer together, it would have had more of a 3D effect, but it still looked good enough to give.  I finished the card with some double-stitched ribbon and the flower frame pop-dotted on top.  I stamped the sentiment one word at a time inside the frame.

Hope you like the card.  I gave it to a coworker at the office for her birthday.

A big smile for you

Here's a big smile from little Ryker to make your day a little sweeter!


- Posted using BlogPress from my iPhone

SFYTT February Sketch Challenge

Here's my version of the February sketch for SFYTT.  I decided to make 2 cards this month. I love the Springtime Vintage DSP from Stampin' Up and wanted to try out some new techniques on these cards.


Here's the original Sketch For You To Try:


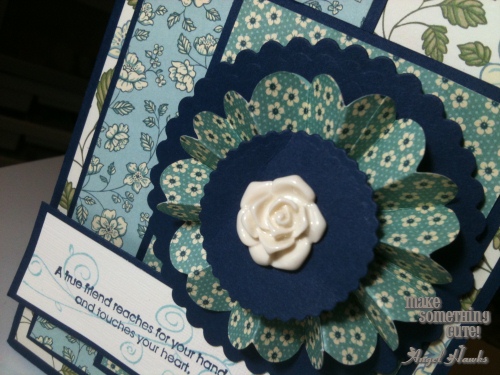
For the blue card, I made an accordian rosette and added an ivory Vintage Flowers Adornments. 

On the Green card, I left the circle flat and used my blending marker to color in the image using my ink pads instead of markers.  This gives a nice watercolor look instead of such intense color like you get from markers.

Thanks for looking!

Springtime Vintage Card

Here's a card I made for my special friend, Mary, who is also my new upline in Stampin' Up.  She is a very creative person and a super sweet friend.  Since I had just gotten my Springtime Vintage Designer paper pack, I couldn't wait to use it.
The Baja Breeze cardstock frame was cut with a Spellbinders' Shapeability set.  I added some glossy accents and stickles to the flowers for dimension.

Thanks for looking!

Get Your Diva On!

This card was made for the Get Your Diva On contest by Verve stamps.  I would love to win me some Verve stamps!  Yummy!

I dug through the stash for this card.  I used some beautiful patterned paper from Rusty Pickle from like 4-5 years ago!  Then, I cut the medallion from pink cardstock using a Spellbinders' Shapeability and a silver glitter paper scalloped circle from my Nestabilities underneath.  I took the little heart cutouts from the small silver glitter medallion and used them at the corners of the card.  Next, I layered a couple of ribbons from my stash and added the sentiment and frame on pop dots for dimension.  Lastly, I cut a couple of swirl roses from the Rusty Pickle patterned paper and added some pink stickles to the petals.

I hope you like it!  It was fun to make and now I have an anniversary card for my parents in April!


LinkWithin

Related Posts Plugin for WordPress, Blogger...